

All about changing diapers!
Has the time come again to change the diaper, and are you breaking out in a cold sweat? Does the process make you anxious, and you don’t know how to handle it so you can ensure maximum safety for your little one and guaranteed success?
Let’s see how you can make the process a piece of cake step by step and what you’ll need!
The essentials for changing
Before you start the process, make sure you have gathered everything that will help you carry out your baby’s diaper change, so you won’t be caught off guard.
So, what are the essentials?
- Diapers: One is never enough, since there is always the possibility that something may go wrong and you may need a second one. Or, to distract your baby, you may need to give them a diaper to play with while you carry out the change undisturbed. Also, during transition periods, you may need more than one size to see which is more comfortable for your little one. In any case, having access to more than one diaper during the change will be very useful, so you never run out.
- Baby wipes: If you don’t have immediate access to water and a bathroom to clean your baby naturally after the change, then baby wipes are your ally. To ensure maximum protection for your baby, you can use baby wipes with 99% water.
- Diaper rash and irritation cream: A cream for diaper rash and irritation is a must-have product to have during diaper changes, since it is common, especially in babies aged 8 to 10 months, to develop rashes and irritated skin. This may also be due to several other factors, such as the frequency of diaper changes or the introduction of solid foods.
- Changing table: Many times, diaper changing becomes a very difficult and painful process for the parent, as they may need to bend over frequently. For this reason, you can get a changing table piece of furniture, ideal for keeping your baby at the right height during diaper changes. Alternatively, you can place a changing mat on top of a dresser or any other surface that is convenient for you.
- Diaper disposal bin: So you don’t have to throw diapers in the household trash bin and spread odors throughout the space, you can keep a bin near the baby’s changing table so you can dispose of diapers directly there. These bins are special, as they feature a rotating and sealing system to isolate odors and germs.
- Changing pad: A changing pad is always useful, so you can lay it on any surface, wherever you are, and turn it into a changing table in seconds.
- Blanket or towel: Finally, a towel or small blanket can do the job and save you from having to look for where to change your baby.
Find everything you need for diaper changing:
-
 Baby Diapers
-
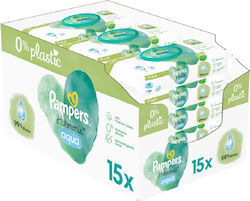 Baby Wipes
-
 Baby Healing Creams
-
 Baby & Kids Creams & Ointments
-
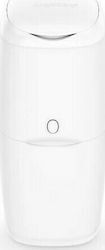 Baby Bath Accessories
-
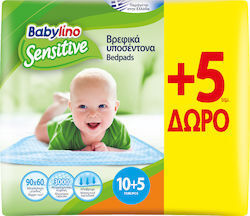 Burp Cloths & Swaddle Wraps
-
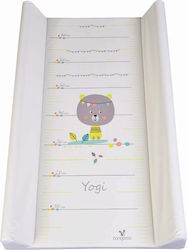 Baby Changing Pads
-
 Kids Blankets
-
 Baby & Children's Towels


Step-by-step diaper change
Once you have ensured that you have all of the above and one (or more) spare outfits for any eventuality, you can start changing the diaper.
What are the steps you need to follow?
- After laying the baby on the changing table or some surface, remove the diaper they are wearing and then wrap it up to seal the waste inside using the adhesive tapes. You can dispose of it in the special diaper bin or place it in a bag and throw it away later in the household trash bin.
- Next, clean your baby with baby wipes or, if you have access to clean water, rinse them well and dry them with a towel. Use gentle movements (always from front to back) and make sure you have thoroughly cleaned the baby's skin in all areas.
- Once you have thoroughly cleaned the area, you can apply cream for any rashes or preventive cream for irritations and redness.
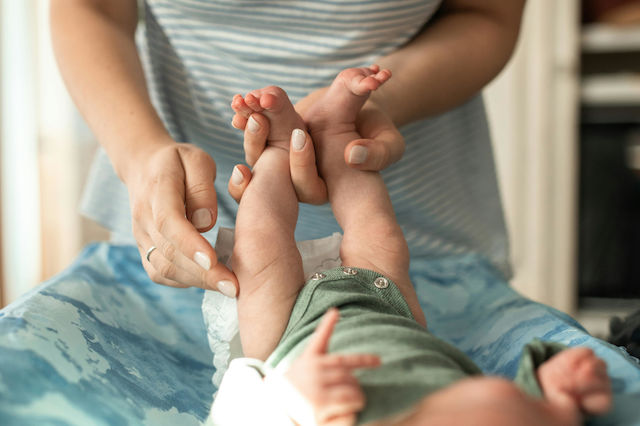
- When your baby is ready and clean, gently lift their legs with one hand and with the other place an open clean diaper underneath. Lower the baby's legs and pull the front part of the diaper up to hug their tummy below the navel.
- Finally, seal the diaper with the side adhesive parts so that it fits comfortably around the baby's waist, without being too tight or too loose. We want comfort but also stability. To ensure this, check that your two fingers can comfortably pass between the diaper and the baby's stomach.
Once you are sure you have placed the diaper correctly and have ensured that your baby is in a controlled area, wash your hands thoroughly and disinfect the area where you made the change to avoid the transmission of germs and other organisms.

Changing a Diaper for a Boy or Girl?
Did you know that it's good to follow a different procedure for changing a diaper depending on whether your baby is a boy or a girl? Let's look at some tips!
Changing a Diaper for a Boy
In addition to the above steps, when changing a diaper for a boy, it's good to cover his genital area with a small towel or a cloth to avoid any accidents and prevent getting yourself or the surroundings wet. Additionally, before fastening the diaper, make sure that his genital area is pointing downward to avoid leaks.
Changing a Diaper for a Girl
On the other hand, changing a diaper for a girl, in addition to the above steps, requires special attention during cleaning. Especially when wiping your baby, you need to make movements only from front to back to reduce the chances of potential infection.
Frequently Asked Questions
How often do I need to change my baby's diaper during the day?
In the first days and the younger your baby is, the more changes will be needed. Initially, you will need to change their diaper about 10 times a day, and over time this number will gradually decrease.
It is recommended to change the diaper every time your baby has a bowel movement, but also in between when you notice the diaper is quite wet. These times vary from baby to baby and depend greatly on their diet, any digestive issues they may have, and their age.
How will I know it's time for a change?
You can look for diapers that have a moisture indicator, allowing you to see at any time how wet the diaper is. When the initial yellow line turns blue, it means it's time for the next change.
Additionally, you can intuitively check if the diaper is quite wet by feeling it with your hand or smelling it. A "sagging" or bulky diaper is also a sign that it's time for a change.
How to deal with leaks?
Make sure the diaper fits well on your baby's body and that you have secured it properly with the side tabs. If the fit is correct and leaks continue, it means it's time to change diaper size. Moving to a larger size not only ensures a better fit but also greater absorbency, so changes won't be needed as frequently.
Relevant Articles
Diaper Chapter: How to Choose the Right Size?

Baby Monitor Buying Guide: How to Choose the Best One

Choose the best baby monitor to always be by your baby’s side
Be the first to leave a comment!