

Face cleansing at home in 5 steps!
Mirror, mirror on the wall..
STOP don't ask him yet, we'll talk again after this article…
Surely there is no greater pleasure than to let yourself be in the hands of the expert and have him take on the challenge with the mirror. However, you can take it as a purely personal decision and have fun with it too. Ready for the spa day?
Step 1: Cleansing

Before proceeding with the application, wash your hands so you do not transfer additional dirt and germs. What you should remember and keep as a rule when caring for the skin on your face is that everything is done with small, slow circular motions of the fingers.
We start with the eye area. If the facial cleanser you have chosen states on its packaging that it is also suitable for the eye area, then you can use it. Otherwise, it is best to choose a special product for cleansing the eyes.
Using any other cleanser that contains soap may irritate the eyes or even cause dryness, which you do not want because… “dryness means wrinkles”. For the eye area, therefore, apply the product to makeup remover pads and, with gentle small movements -not rubbing-, remove every trace of dirt.
Moving on to the rest of the face, apply the cleanser you have chosen starting from the décolleté area toward the neck. Remember that you should enjoy the process, so your movements should be slow and relaxing. As you move to the chin, the motions are made outward, toward the ears, until you reach behind the earlobes. Continue to the cheekbone area until in front of the ears. With your index fingers and slow circular motions, continue along the sides of the nose and under the nostrils. Finally, on the forehead, move toward the temples for the final step.

Always rinse with lukewarm or cold water -not hot-, as this can remove the healthy lipids of the skin. Dry by patting -not rubbing- with a clean towel and you are ready for the next step.
Step 2: Steaming
No, don't worry, you won't be cooking, we said Spa Day!
Steam baths are ideal for all skin types, but it would be best to avoid them if you have a tendency for shortness of breath. In this case, you can try compresses with the mixture you would use for the steam bath.
The steam bath removes toxins and dead skin cells, deeply hydrates, and offers deep cleansing. But don't overdo it, once a month is enough. More frequent use can lead to relaxation.

You can take a steam bath either by using a facial sauna device, or in the old traditional way. That is, in a deep bowl with boiling water, add (depending on your skin type):
- For dry skin: Chamomile, orange blossoms or dried rose petals
- For oily skin: Yarrow, lavender, mint or rose essence
- For all skin types: Thyme, chamomile or lavender
Then, once you have prepared the steam bath, stand over the bowl and, with the help of a towel placed over your head, try to trap the steam. Stay at a distance from the bowl -about 30-40 centimeters-, so that the steam does not "choke" you, and keep your eyes closed for 5 to 8 minutes. This duration is enough for the pores to open and the blackheads to soften.
Use a tissue or, even better, makeup remover pads to remove the moisture from your face.
Now is the best time to use cleansing strips for blackheads. But keep your hands away; I know it is tempting to start squeezing blackheads and pimples now that the pores are open, but it is better to leave that part in the hands of the "experts".
Step 3: Exfoliation

It’s time to get rid of the unnecessary dead cells and reveal the soft, smooth, and radiant side of your skin. Exfoliation, among other things, helps improve blood circulation and increase collagen production, resulting in the smoothing of fine lines. The movements here should also be gentle and slow. Remember that you should use a facial scrub and not a body scrub. Different skin types, different needs. Rinse well with lukewarm or cold water and pat dry with a clean towel.
Step 4: Mask

We gradually move on to the hydration step. Masks are particularly effective at hydrating the skin by nourishing it with essential and beneficial ingredients. After finding the right one for you and your skin, apply the mask to your face, preferably with your hands, so it reaches the same temperature as your skin more quickly. Avoid the lips and the eye area and, of course, don’t forget to cover the neck.
Leave it on for 10 minutes or for as long as stated on the packaging, avoiding facial movements. Remove it first with a damp cotton pad to collect most of it from the entire area, and then rinse it off with plenty of water.
Step 5: Hydration

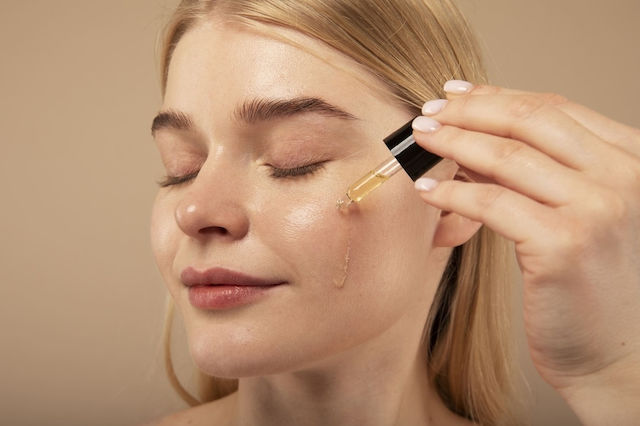
So we have reached the final and most important stage for our skin. To have radiant and healthy skin, you should moisturize it daily. Depending on your age, your needs, and your skin type, choose the appropriate type of hydration or a combination of them. There are several options on the market among Serum, Creams and Lotions to choose the one you prefer.
Tip: Don’t overdo it and don’t overload your skin, because you may get the opposite of the desired results.
The process is as follows: apply a small amount of product to the neck area, the cheekbones, and the forehead, and spread it with upward circular motions over the entire surface. Just as you did with cleansing, avoiding, as we have said, the eye area. For the area around the eyes, you will use a separate product suitable for that area.
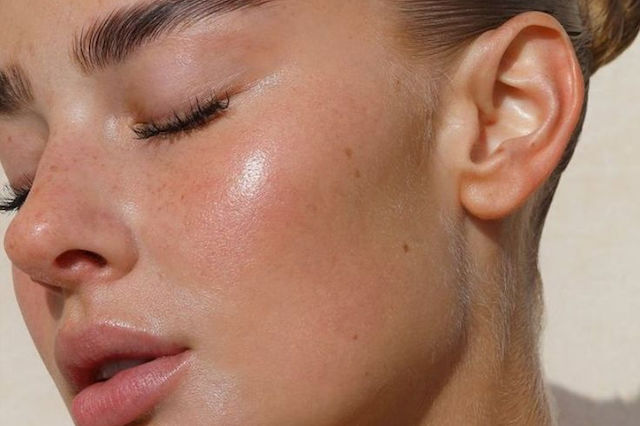
Beauty has its secrets. If you learn them and apply them, you will always be refreshed and fresh. A radiant face means, above all, a clean face that radiates health and beauty!
Spa day is over…

Be the first to leave a comment!