- We tape the area around the headlights with masking tape
- We sand the headlights with water sandpapers and water starting from P320 or P600 depending on the condition of the headlights. We proceed with sandpaper P800, P1000, P1500, P2000 & P3000. The sanding should be meticulous and uniform over the entire surface of the headlight.
- We place the chemical inside the lamp above the middle of the container because otherwise, there is a risk of burning the heating element.
- We close the heating container with one of the two lids and wait about 4-5 minutes for the liquid to boil.
- When we see that the steam has started to come out of the spout, we approach the headlight at a distance of about 5cm starting from the bottom to the top in a horizontal left-right motion and move up with slow movements without leaving gaps.
- In less than a minute we are done and after 10 minutes our headlight is ready.
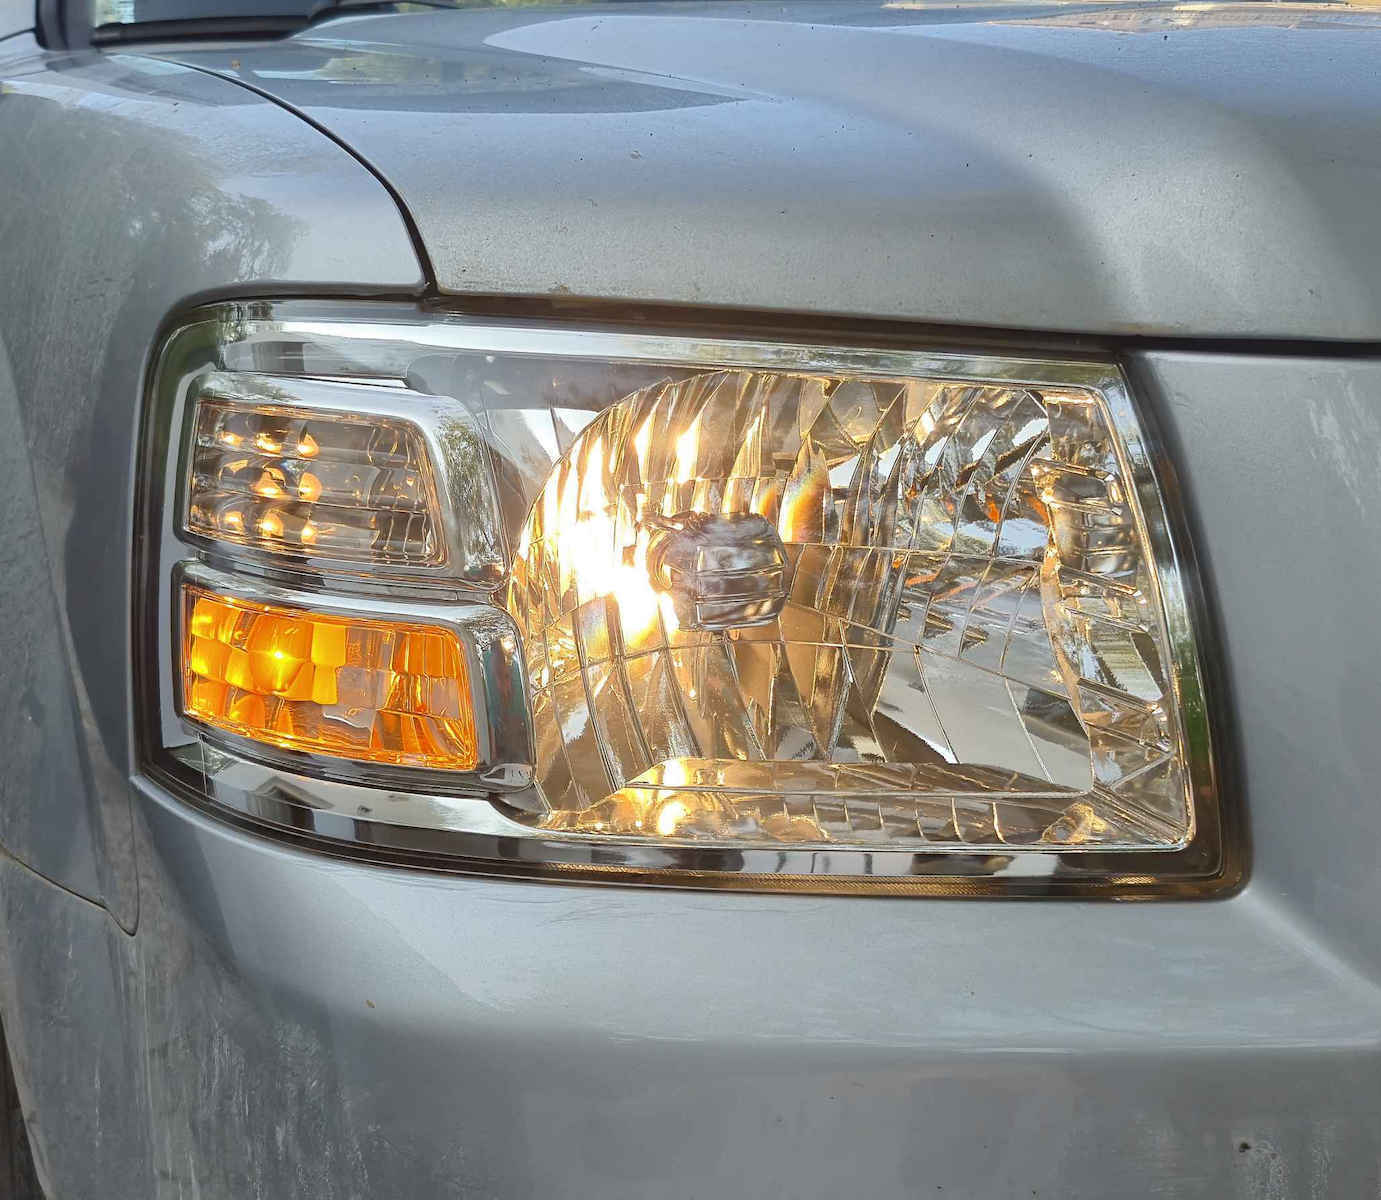
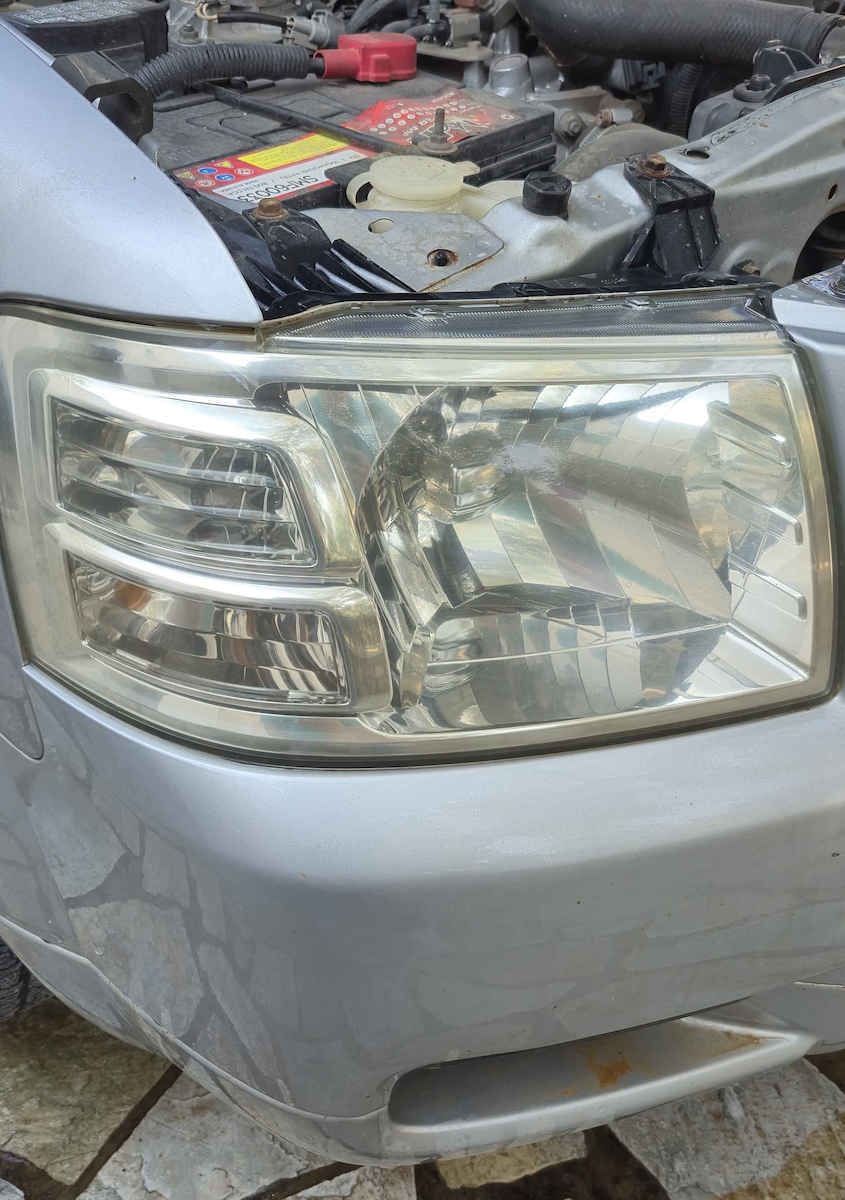
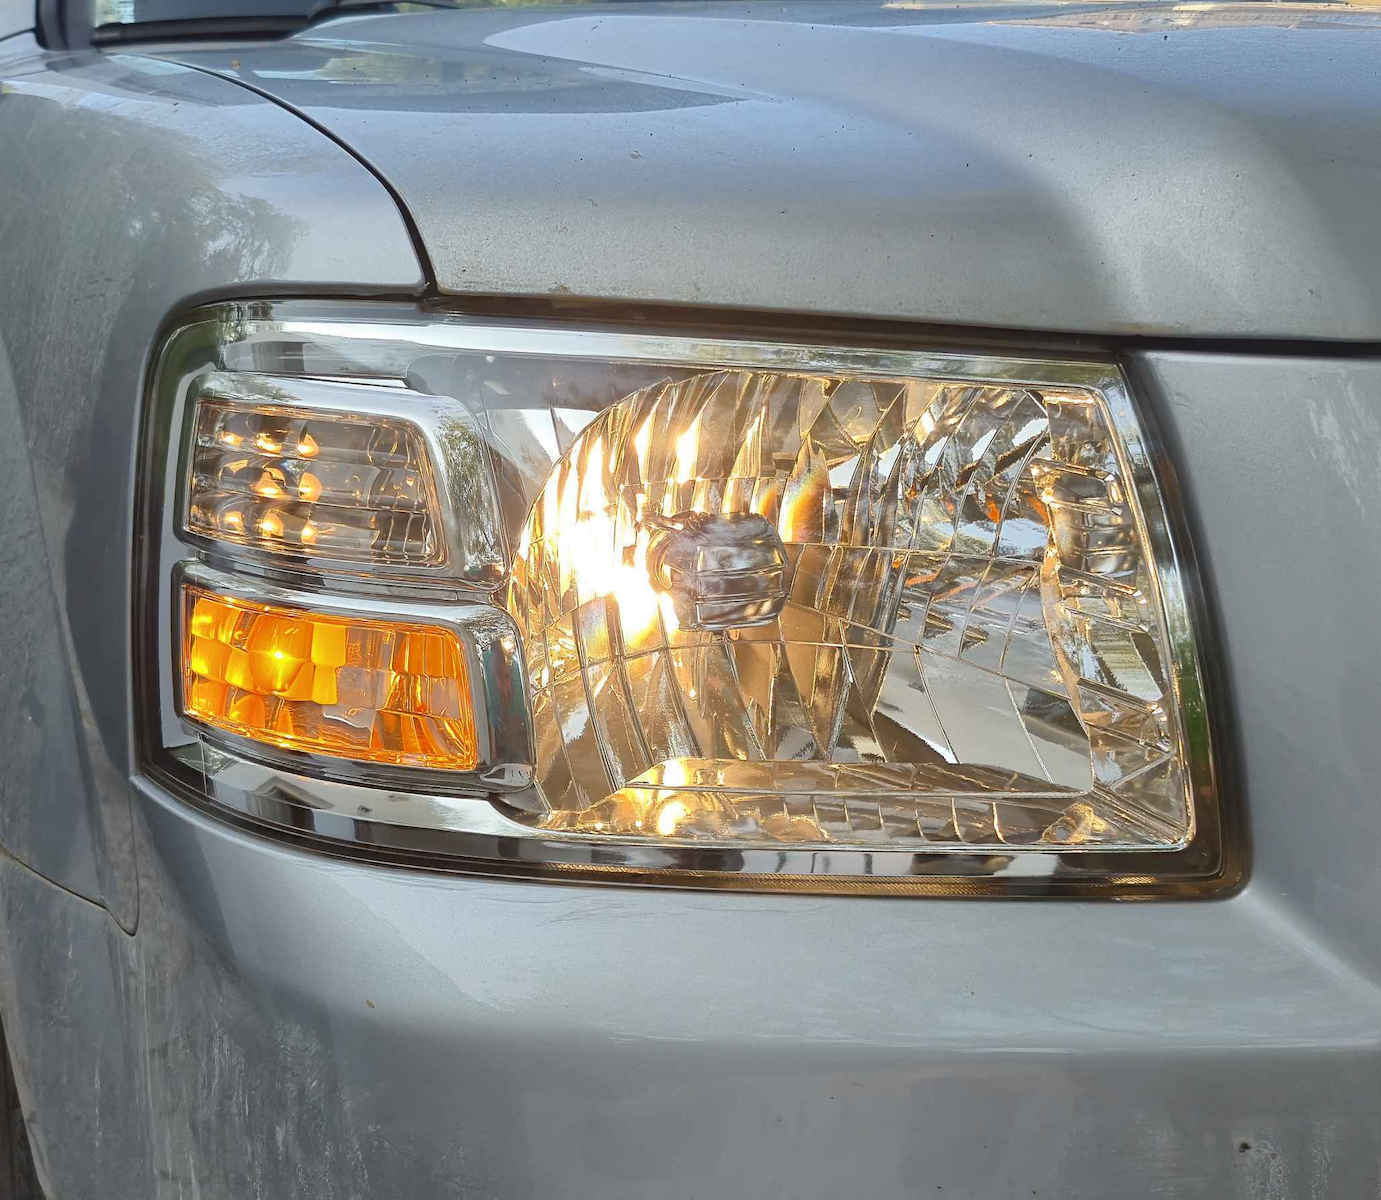
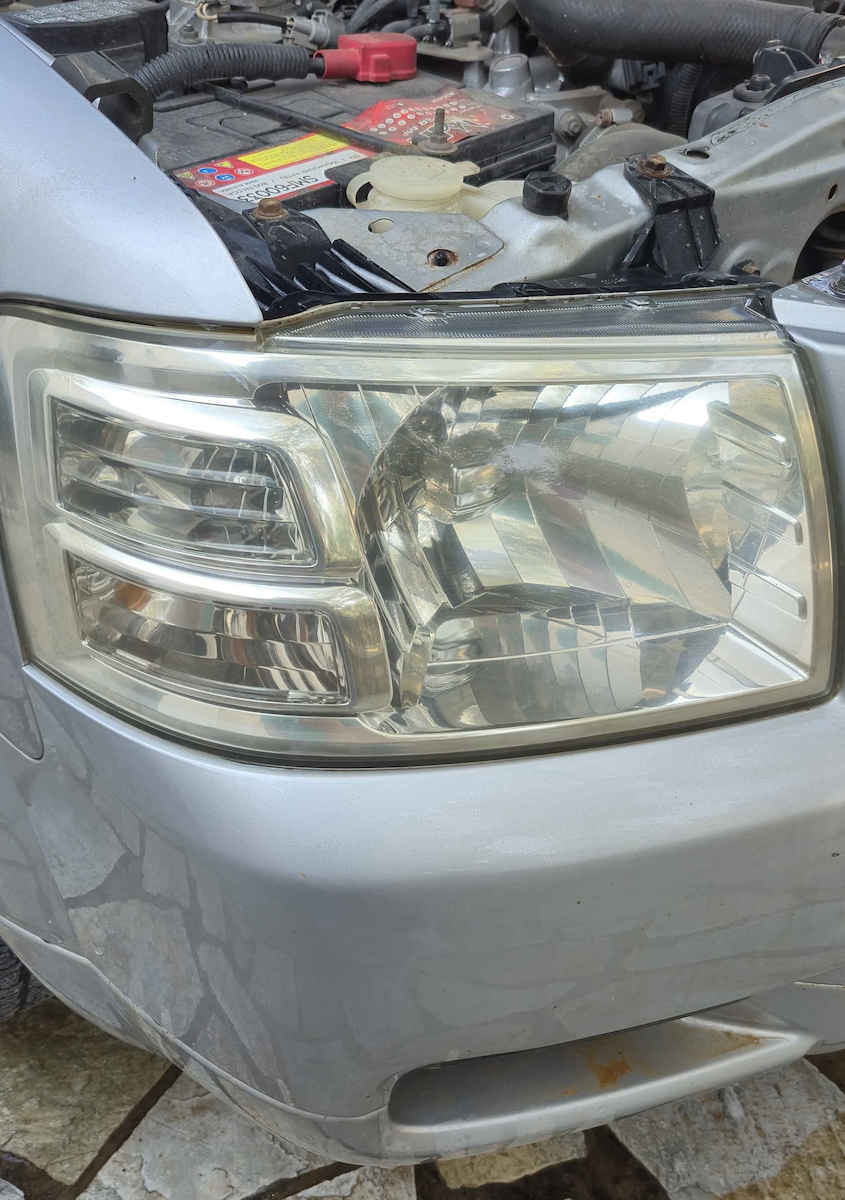
The Spraygun offers an effective solution for addressing issues related to the plastic lenses of car headlights. By using this product, you can effectively remove cloudiness, yellowing, and small marks.
The Spraygun restores the clarity of the headlight lenses, bringing them back to their original condition. After using it, the headlights gain a clear and transparent appearance, improving both visibility and the car's aesthetics.
Another advantage of the Spraygun is that it does not require disassembly of the headlights or the use of a polisher for its application. You can simply apply the product to the headlight lenses and enjoy the spectacular results without needing any tedious procedures.
Application Process
- We tape the area around the headlights with masking tape
- We sand the headlights with water sandpapers and water starting from P320 or P600 depending on the condition of the headlights. We proceed with sandpaper P800, P1000, P1500, P2000 & P3000. The sanding should be meticulous and uniform over the entire surface of the headlight.
- We place the chemical inside the lamp above the middle of the container because otherwise, there is a risk of burning the heating element.
- We close the heating container with one of the two lids and wait about 4-5 minutes for the liquid to boil.
- When we see that the steam has started to come out of the spout, we approach the headlight at a distance of about 5cm starting from the bottom to the top in a horizontal left-right motion and move up with slow movements without leaving gaps.
- In less than a minute we are done and after 10 minutes our headlight is ready.
The package includes
- Polycarbonate liquid 600ml
- Heating container (lamp)
- Plastic lid with curved fixed spout
- Plastic lid with flexible spout (tube) for hard-to-reach areas
- Power cord 2 meters
Manufacturer
OEM- Product Number
- 530-001
Specifications
- Type
- Kit
- Usage
- Cleaning
Quantity
- Capacity
- 600 ml
Important information
Specifications are collected from official manufacturer websites. Please verify the specifications before proceeding with your final purchase. If you notice any problem you can report it here.
Be the first to leave a comment!