Λοιπόν ακολουθεί σεντόνι για αυτόν που σκέφτεται να το αγοράσει και δεν γνωρίζει αν αξίζει ή να το εγκαταστήσει.
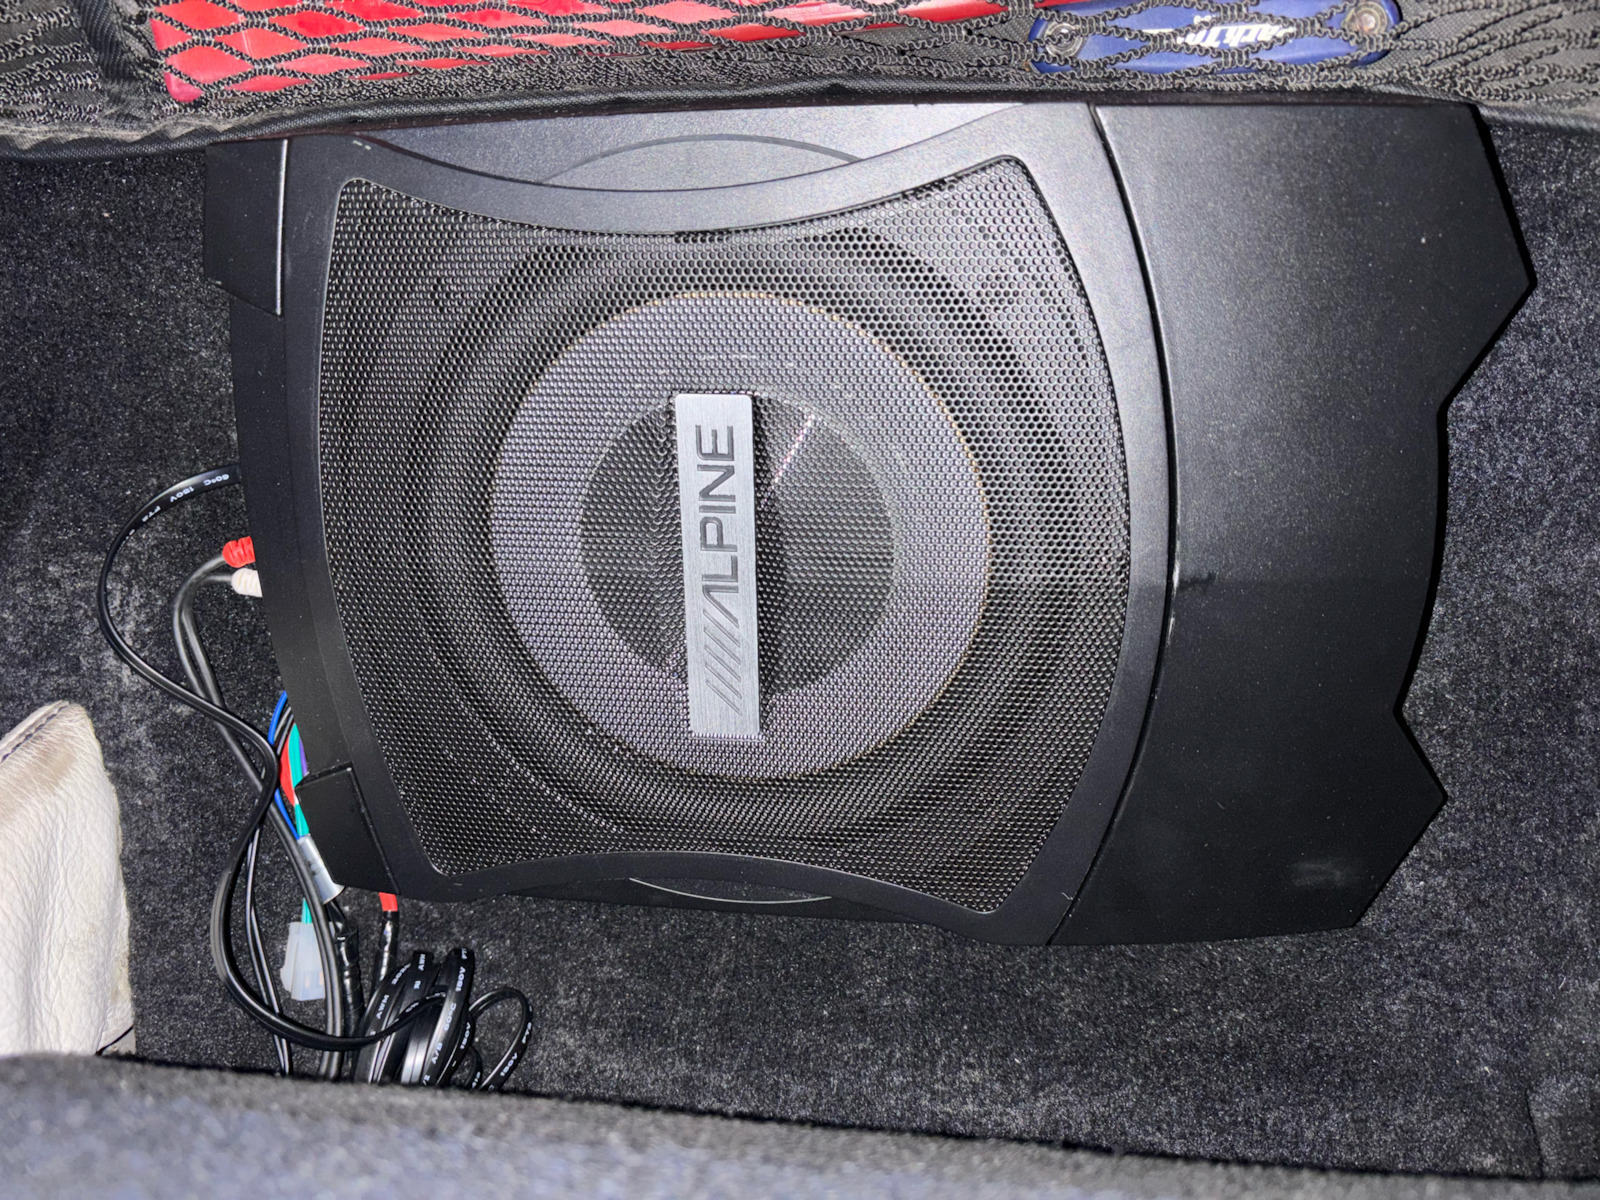
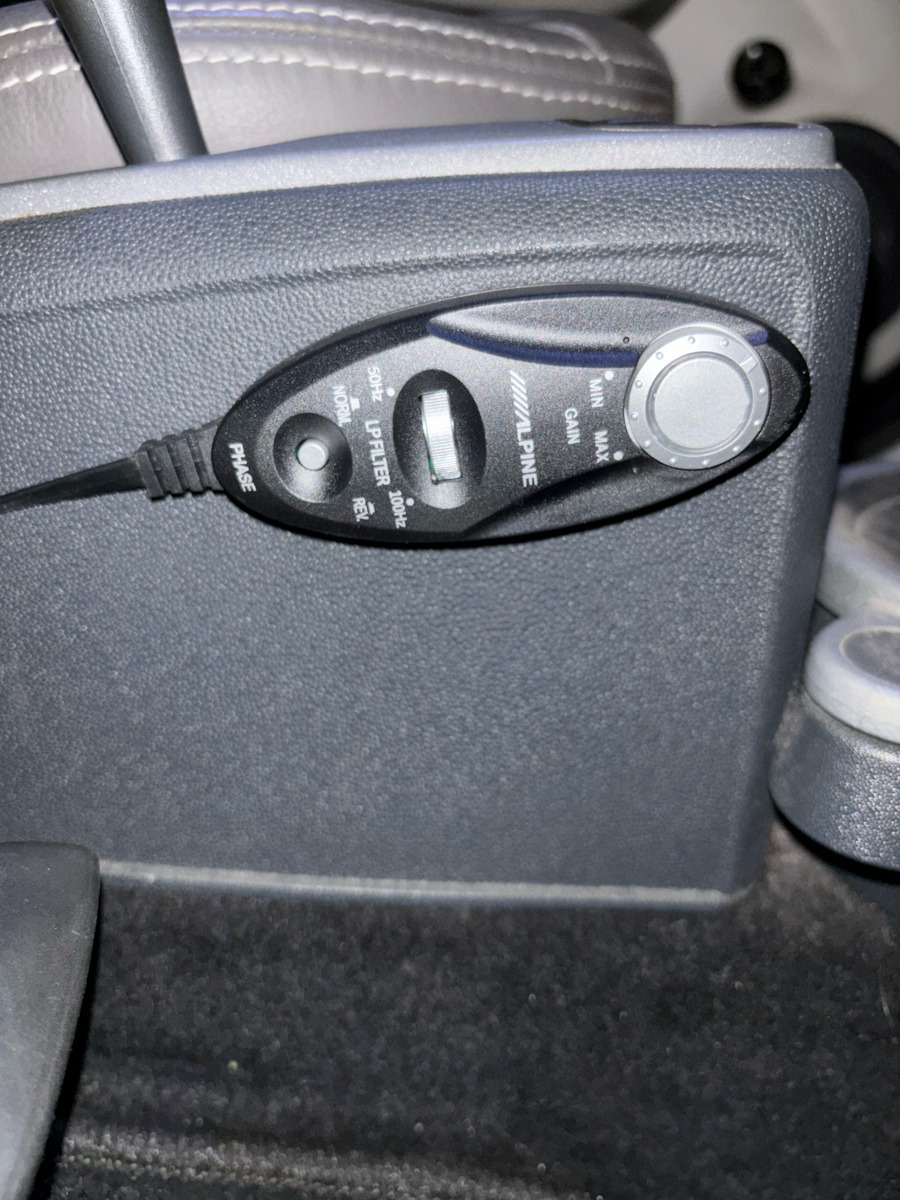
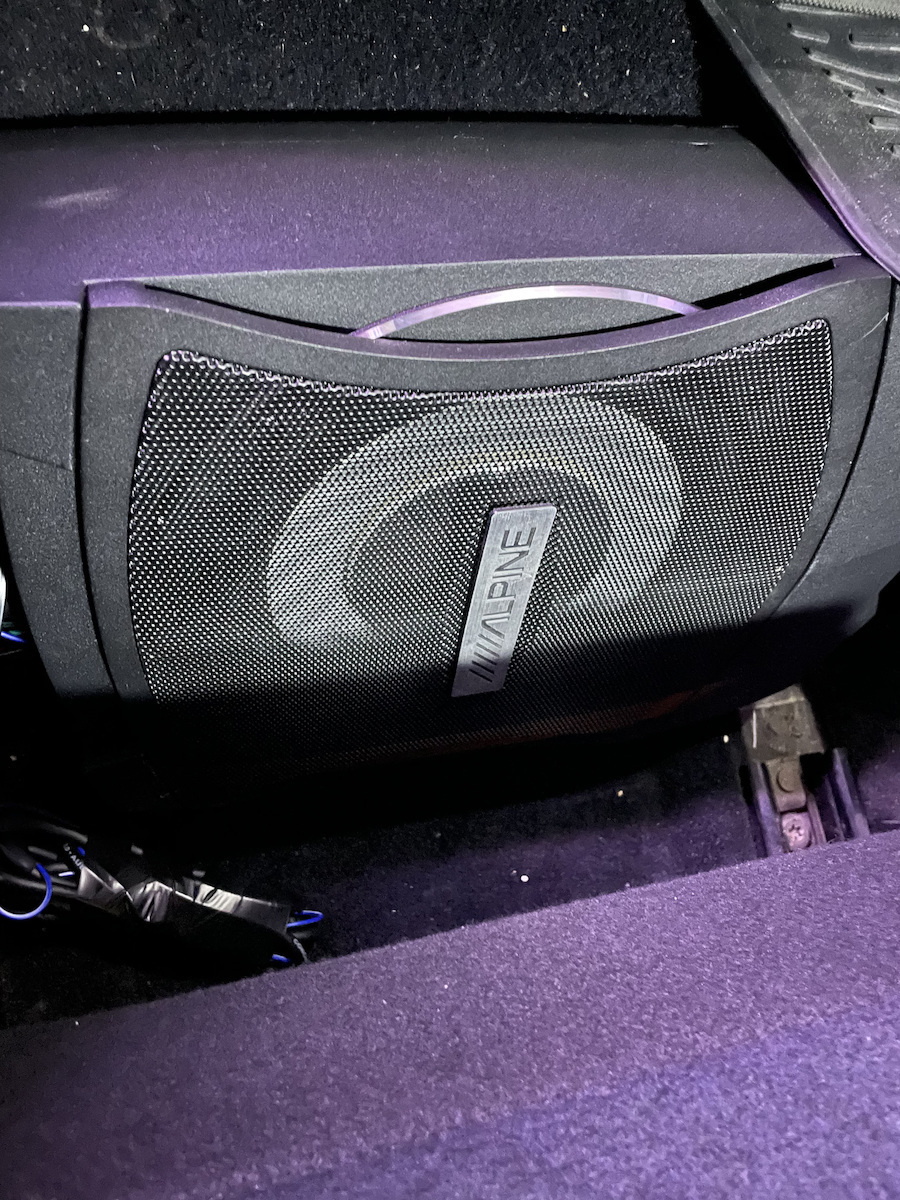
Αξίζει η αγορά; Ναι αξίζει. Είναι ένα πολύ τίμιο συμπλήρωμα ήχου στα εργοστασιακά ηχεία ή ακόμα καλύτερα σε aftermarket αν έχετε. Αποδίδει πολύ καλά, έχει πολύ βάρος και στιβαρή κατασκευή και το χειριστήριο που έχει είναι εύχρηστο και απλό. Δεν κάνει distortion στον ήχο ανεξάρτητα από την ένταση που θα δώσει η πηγή και προσδίδει αυτό το βάθος που λείπει από τα περισσότερα ηχοσυστήματα (μιλώντας για stock, ή ελαφριά aftermarket). Μαζί έχει και μια τύπου βάση βιδωτή η οποία μπαίνει φαντάζομαι σε μία από τις 4 βίδες που πιάνει το κάθισμα, για να μένει ακίνητο (σε περίπτωση τοποθέτησης του κάτω από κάθισμα).
Εγκατάσταση:
Η συσκευασία περιέχει τα εξής:
- Remote controler ( χειριστήριο με καλώδιο )
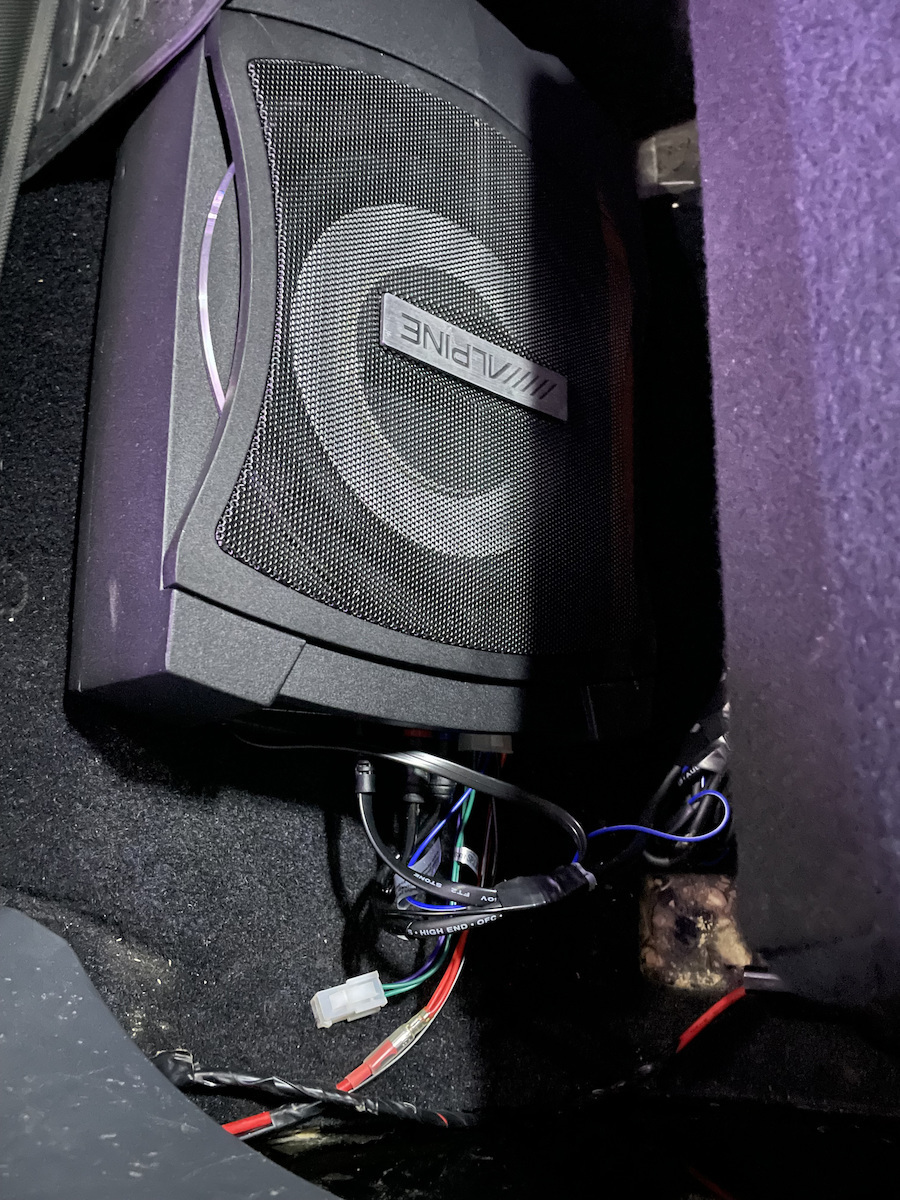
- Κόκκινο καλώδιο με μια ασφάλεια ( για σύνδεση στον θετικό πόλο της μπαταρίας )
- Μπλε καλώδιο ( σύνδεση στην πηγή για να παίρνει σήμα πότε ανοίγει και κλείνει. )
- ένα ζευγάρι πράσινο και μωβ καλώδιο για σύνδεση σε εξόδους ηχείων ( το χρησιμοποιούμε αν ΔΕΝ κάνουμε σύνδεση RCA. )
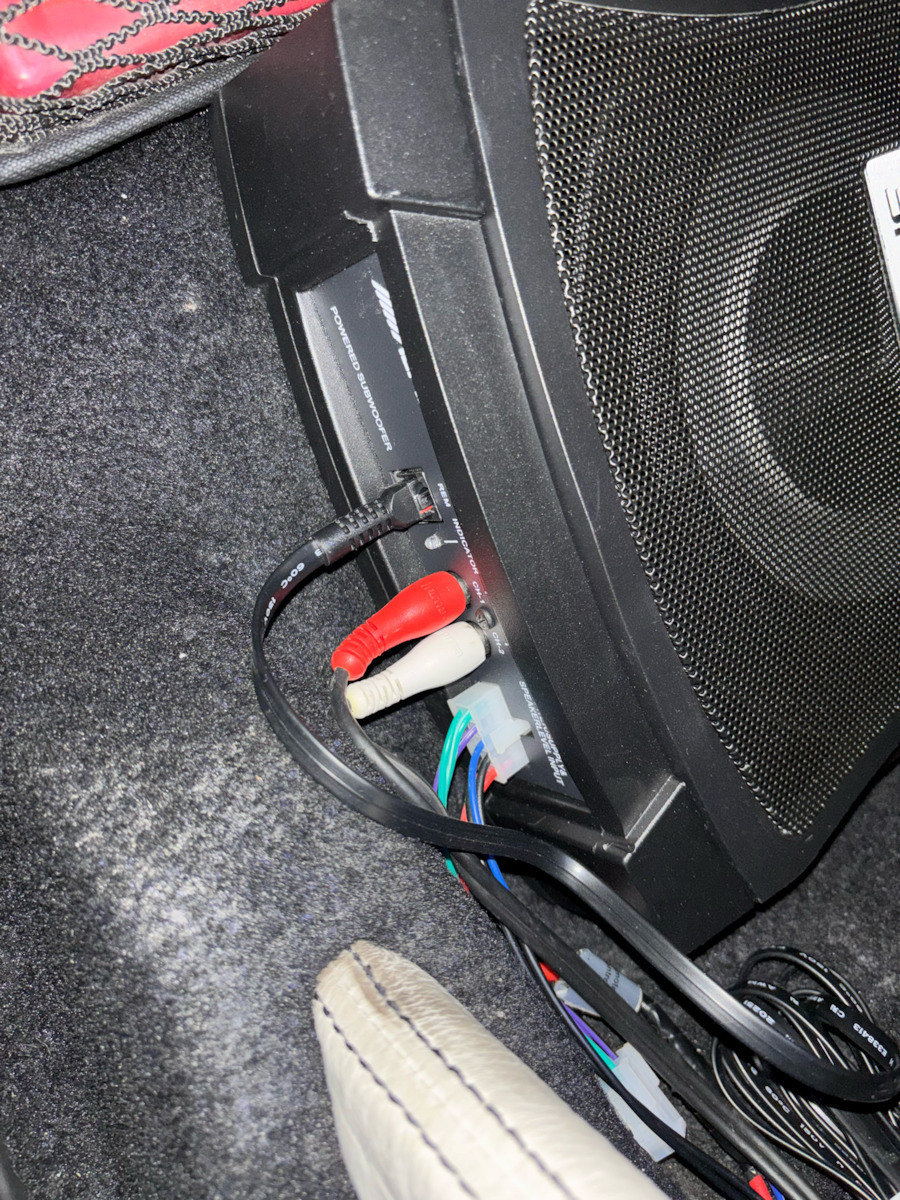
- Μια πλεξούδα που κουμπώνει πίσω στο sub και έχει τις αναμονές: του κόκκινου καλωδίου από την μπαταρία, του μπλε από την πηγή, και ένα κλιπ για τα πράσινα/μωβ καλώδια. Επίσης έχει ένα διπλό μαύρο καλώδιο το οποίο είναι η γείωση. Πάντα βάζουμε γείωση και σε μέρος με καθαρό μέταλλο κατά προτίμηση.
Η εγκατάσταση είναι απλή και εύκολη, το δύσκολο κομμάτι είναι η τακτοποίηση των καλωδίων και η υπομονή που χρειάζεται.
Για σύνδεση με τα πράσινα/μωβ καλώδια: Συνδέουμε κανονικά το κόκκινο (ρεύμα) και το μαύρο (γείωση), και ματίζουμε τα δύο πράσινα καλώδια με δυο καλώδια εξόδου ηχείων. Συνήθως είναι πράσινα/μωβ/άσπρα κτλ αλλά δεν είναι κανόνας αυτό. (Κάθε ηχείο έχει 2 καλώδια ένα + και ένα -). Επαναλαμβάνουμε και για το μωβ ζευγάρι. Ιδανικά θέλουμε να τα ματίσουμε στα δύο μπροστινά ή δύο πισινά ηχεία. Το μπλε νομίζω δεν χρειάζεται να συνδεθεί κάπου στην συγκεκριμένη περίπτωση. Δοκιμάστε και αν δεν λειτουργεί το συνδέετε και αυτό.
Έτοιμο. Σημείωση: Με τον συγκεκριμένο τρόπο σύνδεσης θα επηρεαστεί και η απόδοση του αν έχετε πειράξει τις ρυθμίσεις από την πηγή για το αν θα παίζουν παραπάνω τα μπροστινά ή πίσω ηχεία.
Για σύνδεση με RCA, δεν χρειαζόμαστε τα πράσινα/μωβ καλώδια. Επειδή δεν περιλαμβάνεται το καλώδιο στην συσκευασία, θα πρέπει αν το αγοράσετε ξεχωριστά. (Πάρτε μπόλικο και να είναι αρσενικά και τα δύο άκρα ). Συνδέουμε τα RCA στο sub στις υποδοχές, και βάζουμε τις άλλες άκρες στην πηγή μας. Ενώνουμε το μπλε καλώδιο με το μπλε ή μπλε - άσπρο καλώδιο που έχει η πηγή μας ( και κατά 90% δεν θα είναι συνδεδεμένο πουθενά, τουλάχιστον στις aftermarket πηγές/οθόνες ) ώστε να καταλαβαίνει το sub πότε ανοίγει και πότε κλείνει η πηγή μας. Βάζουμε την γείωση ( μαύρο καλώδιο ), βάζουμε και το κόκκινο ( ρεύμα ) και είμαστε έτοιμοι.